How to Make Hummingbird Nectar in Minutes: Step-by-Step Guide
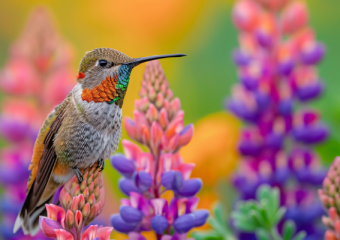
Making hummingbird nectar in minutes is an easy and rewarding way to attract these tiny, colorful birds to your garden or backyard. Hummingbirds rely on nectar as a primary energy source, especially during their long migratory journeys. Creating a simple, homemade nectar solution mimics the natural sweetness of flowers and provides these birds with a safe and nutritious food source.
In this step-by-step guide, you’ll learn how to make hummingbird nectar quickly using just a few common ingredients, as well as tips on how to properly feed and care for your visiting hummingbirds.
Why Make Your Own Hummingbird Nectar?
Store-bought hummingbird nectar can sometimes contain artificial sweeteners, dyes, or preservatives that may harm the birds. By making your own nectar, you control the ingredients and ensure the solution is healthy for the hummingbirds. The ideal nectar recipe is simple, natural, inexpensive, and mimics the sugar concentration found in flower nectar.
What You’ll Need to Make Hummingbird Nectar
Before starting, gather these ingredients and items:
- White granulated sugar — It’s the best option because it dissolves easily and provides pure glucose and fructose for the birds’ energy.
- Water — Use clean, filtered, or distilled water to keep the nectar fresh and free from contaminants.
- A saucepan or kettle — To boil the water.
- A clean hummingbird feeder — Cleanliness is crucial to prevent mold and bacterial growth.
Step-by-Step Guide to Making Hummingbird Nectar
Step 1: Measure the Ingredients
Combine four parts water to one part white granulated sugar. For instance, if you use 1 cup of sugar, mix it with 4 cups of water. This 4:1 ratio closely replicates the nectar concentration found in many flowers.
Step 2: Boil the Water
Bring the water to a rolling boil. Boiling helps dissolve the sugar completely and kills any impurities or microbes that might be present in the water.
Step 3: Dissolve the Sugar
Once the water reaches a boil, remove the pot from heat and immediately stir in the sugar. Stir continuously until the sugar is fully dissolved, resulting in a clear liquid. Avoid stirring after the solution cools or it may crystallize.
Step 4: Cool the Nectar
Allow the nectar to cool to room temperature. It’s important to avoid filling the feeder with hot or warm nectar because it can damage the feeder and potentially harm the hummingbirds.
Step 5: Fill the Feeder
Pour the cooled nectar into a clean hummingbird feeder. Make sure the feeder has no leftover mold or residue from previous feedings — regular cleaning after every nectar refill is essential for bird health.
Important Tips for Feeding Hummingbirds Safely
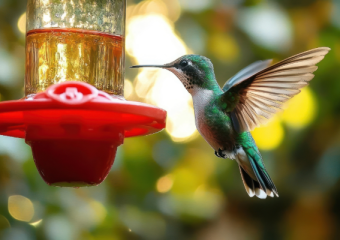
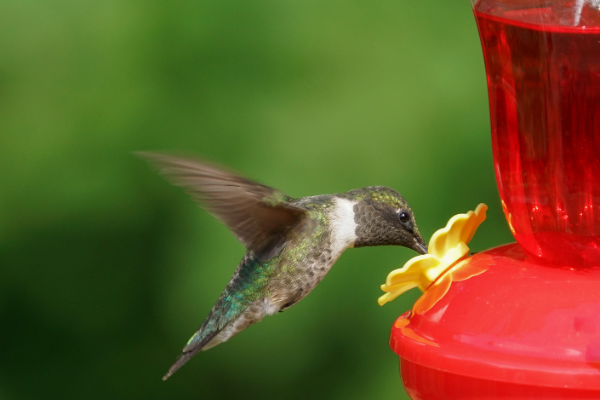
- Avoid red food coloring: Some people add red dye to make nectar appear more attractive, but this can be harmful to hummingbirds. Instead, choose feeders with bright red accents.
- Replace nectar every 3-4 days: During hot weather, it’s best to change the nectar more frequently to prevent fermentation or mold growth.
- Clean feeders regularly: Rinse with hot water and scrub to keep feeders sanitary. Avoid harsh chemicals.
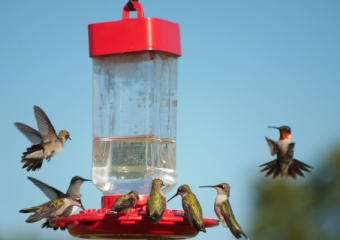
- Position your feeder wisely: Hang feeders in shaded areas to keep the nectar fresh longer and provide some protection for the hummingbirds from predators.
Troubleshooting Common Problems
- Crystallized nectar: If the nectar crystallizes, gently warm it and stir until clear again. Ensure the proper sugar-to-water ratio.
- Moldy or fermenting nectar: Discard old nectar immediately and clean the feeder thoroughly.
- No hummingbirds visiting: Be patient—it may take a few days for birds to discover your feeder. Placing flowers nearby can encourage visits.
Benefits of Making Hummingbird Nectar at Home
Homemade nectar is economical, natural, and directly supports local wildlife. Watching hummingbirds darting gracefully around feeders is a delightful experience that also helps with pollination in your garden. By providing safe and healthy nectar, you help sustain these incredible little birds, especially in areas where natural flowers might be sparse.
Final Thoughts
Creating fresh hummingbird nectar in just minutes is simpler than you might think. Using the right sugar-to-water ratio and maintaining good feeding hygiene maximizes the health benefits and attraction power of your nectar. So, whether you’re a seasoned birdwatcher or new to hummingbird feeding, this straightforward recipe ensures your backyard becomes a vibrant hotspot for these beautiful birds.
Get your ingredients ready, follow these steps, and enjoy the enchanting sight of hummingbirds sipping from your feeder all season long!